GNES Flow: a Pythonic Way to Build Cloud-Native Neural Search Pipelines
Background
For those who don’t know about GNES. GNES
[jee-nes] is Generic Neural Elastic Search, a cloud-native semantic search system based on deep neural network. GNES enables large-scale index and semantic search for text-to-text, image-to-image, video-to-video and any-to-any content form. More information can be found in our Github repository.Since this March, GNES has evolved over 46 versions in the last six months. In the most recent release v0.0.46, we publish a new set of API called GNES Flow. It offers a pythonic way for users to construct pipelines in GNES with clean, readable idioms. As an example, an indexing pipeline can be written as:
1 | from gnes.flow import Flow |
And then used via:1
2with flow.build(backend='process') as fl:
fl.index(bytes_gen=read_flowers(), batch_size=64)
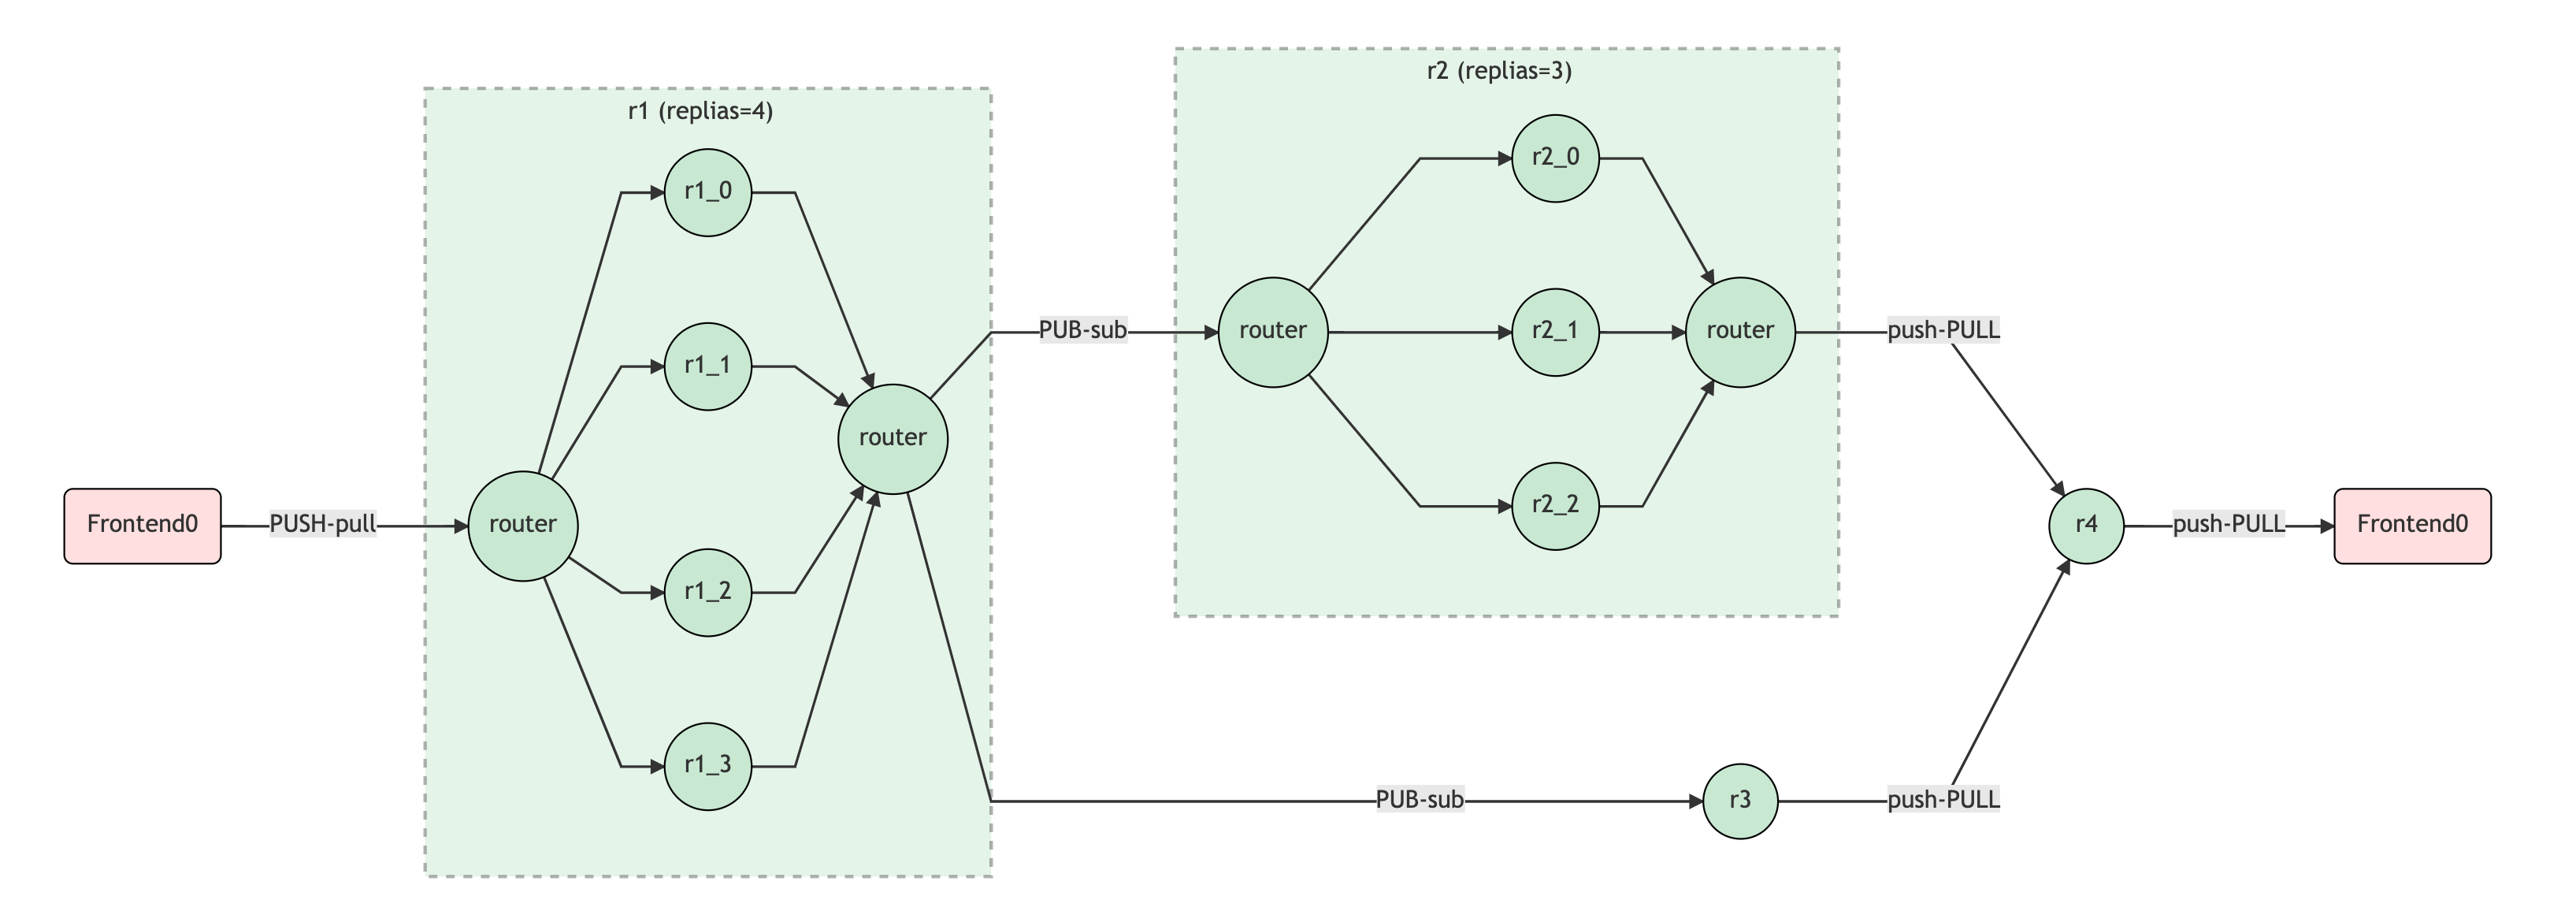
One can easily visualize the flow and export it to a SVG image via flow.build(backend=None).to_url()

In this post, I will explain the motivation behind GNES Flow and highlight some example usages on how this new API can significantly improve the usability of GNES.
Table of Content
- The Motivation Behind GNES Flow
- Example Usage
- Define an empty flow
- Use a flow
- Add a microservice to an flow
- Visualize a flow
- Define a more complicated pipeline
- Modify the attribute of a component in a flow
- Elastic: scale out a flow
- Define an index flow
- Define a query flow
- Convert a index flow to query flow
- Export the flow to Docker Swarm config
- What’s Next?
The Motivation Behind GNES Flow
Pain points
Before GNES Flow, the only recommended way to run GNES is via a third-party orchestration, e.g. Docker Swarm and Kubernetes. Basically, one has to write a YAML config that composes all microservices as the following (a Docker Swarm config):1
2
3
4
5
6
7
8
9
10
11
12
13
14
15
16
17version: '3.4'
services:
Frontend0:
image: gnes/gnes:latest-alpine
command: frontend --port_in 56086 --port_out 52674 --port_ctrl 49225 --check_version
False --ctrl_with_ipc True
prep:
image: gnes/gnes:latest-alpine
command: preprocess --port_in 52674 --port_out 65461 --host_in Frontend0 --socket_in
PULL_CONNECT --socket_out PUB_BIND --port_ctrl 49281 --check_version False --ctrl_with_ipc
True --yaml_path yaml/prep.yml
# MORE OF THESE CODES ARE OMITTED...
sync:
image: gnes/gnes:latest-alpine
command: route --port_in 57791 --port_out 56086 --host_out Frontend0 --socket_out
PUSH_CONNECT --port_ctrl 51285 --check_version False --ctrl_with_ipc True --yaml_path
BaseReduceRouter --num_part 2
The drawback of writing such handcrafted config is pretty obvious: it is error-prone. One can easily make mistakes on port_in, port_out, socket_in and socket_out arguments, which define the underlying network topology. Moreover, the topology is not straightforward to see given this config. For users who are not familiar with Docker/Kubernetes, this config can be cumbersome. GNES Board (depreciated since v0.0.46) was one attempt to alleviate this problem, but it is not enough. In principle, these arguments about ports can be automatically determined once the network topology is fixed. Namely, the topology defines the configs, not the other way round. Therefore, a more reasonable user journey would be: let the user specify the network topology first, and then generate the corresponding sockets and ports configs. The first step should be as intuitive as possible, whereas the latter should be hided from the user.
The second drawback is that it is hard to debug GNES on a local machine. As GNES is designed to be a cloud-native framework from the day one, we did not put running GNES in a local environment as the priority. Nonetheless, there is still a way to do so. In our unit tests, we keep working with the following pattern to build a toy network without using Docker Swarm/Kubernetes:
1 | from gnes.cli.parser import set_router_parser, _set_client_parser |
One may also consider this pattern as an orchestration layer built on top of Python multi-thread (as BaseService class is inherited from Thread). Comparing to the cloud-native alternatives, this is much easier to debug, print traceback and set breakpoints. However, users who want to reuse this pattern in their own code would still have to manually specify the ports as the parsed arguments in order to define the topology. Besides, it also involves quite some low-level network ops such as binding ZeroMQ sockets and establishing gRPC channels & stubs. We want to generalize this pattern and make it more handy, as easy and natural as possible for a GNES users to pick up.
Highlights of GNES Flow
With all these considerations in mind, our goal is to build a new API for GNES and provide a readable and brief idiom, which separates the construction of a complex pipeline from its representation. In some sense, GNES Flow to GNES is like Keras to Tensorflow. Specifically, one can use it to
- chain multiple
add()functions to build a pipeline; - use self-defined names instead of ports to a service;
- modify a pipeline’s component via
set(); - run a pipeline on multiple orchestration layers, e.g. multi-thread, multi-process, Docker Swarm, Kubernetes;
- serialize/deserialize a pipeline to/from a binary file, a SVG image, Docker Swarm/Kubernetes config files.
If you are interested in knowing more about the design patterns behind the GNES Flow, then method chaining, lazy evaluation are the keywords you may want to search for.
Example Usage

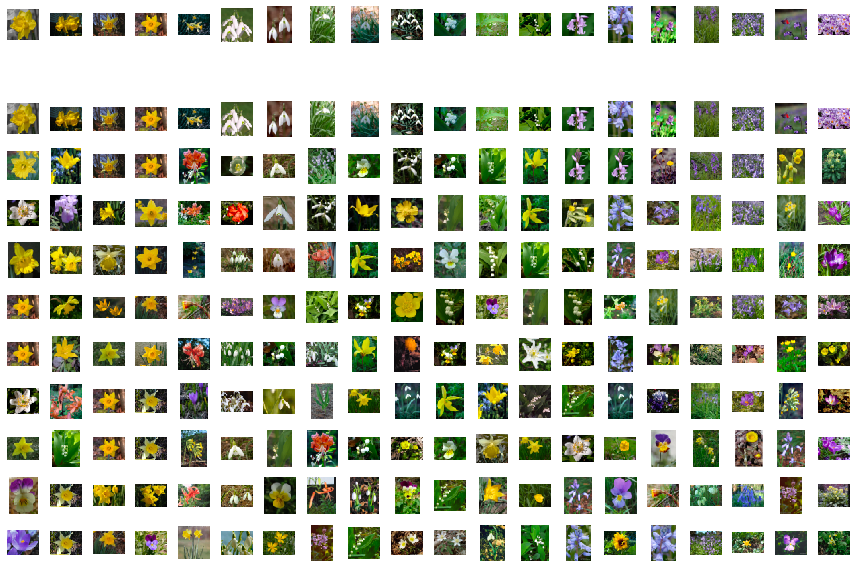
In this repository I showed an example on how to build a toy image search system for indexing and retrieving flowers based on their similarities. The Jupyter Notebook can be found here. The complete documentation of GNES Flow can be found at here. In the sequel, I will highlight some common usages.
Define an empty flow
Defining a flow is easy. One can simply initialize a Flow object.
1 | from gnes.flow import Flow |
Here check_version=False and ctrl_with_ipc=True serve as the “global” arguments, they will override all microservices added afterwards.
Note, due to the lazy evaluation feature of GNES Flow, nothing is really “executed” until we call flow.build() and use it as a context manager, which we shall see later. In some sense, it is like tf.Session in Tensorflow.
Use a flow
To use a flow for indexing, searching and training, you need to first build it with some backend and then use it as a context manager as following:
1 | with flow.build(backend='process') as f: |
This will start a CLIClient and connect it to the flow. As defined in CLIClient, the available methods here are index, query and train. To feed data to the flow, one can use built-in readers to read files into an iterator of bytes, or write a generator by your own. Please refer to the documentation for more details.
The available backends are None (dry-run for a sanity check and visualization), thread and process. In the future, swarm and k8s will be implemented.
Add a microservice to an flow
Adding microservice is simply chaining add() on an existing flow object. There are two ways to call add, e.g.
1 | flow = (Flow(check_version=False, ctrl_with_ipc=True) |
The last added microservice will automatically receive the output from the previous added microservice. By default, the first microservice in the flow will receive the output from the Frontend, and the last microservice in the flow will send its output back to the Frontend.
Currently GNES Flow supports the following add methods:
add_router(**kwargs)oradd('Router', **kwargs)add_encoder(**kwargs)oradd('Encoder', **kwargs)add_preprocessor(**kwargs)oradd('Preprocessor', **kwargs)add_indexer(**kwargs)oradd('Preprocessor', **kwargs)
The accepted **kwargs of each function can be found in the CLI documentation of each microservice.
Visualize a flow
You can export a flow object by exporting it to a SVG URL and opening it in browser.
1 | flow.build(backend=None).to_url() |
Note, backend=None specifies that we just do a “dry-run” with no particular orchestration. This is useful when you simply want to perform a sanity check on the connectivity of the pipeline without really spawning all microservices.
If you are using Jupyter Notebook, then you can simply print the visualization inline via:
1 | from IPython.display import IFrame |

Define a more complicated pipeline
To generalize the topology of a pipeline, e.g., let a microservice receiving inputs from not the last but some upper stream components, or making some map-reduce patterns in the pipeline, you will need to name service when you add it. For example,
1 | flow = (Flow() |

Modify the attribute of a component in a flow
Once a flow is defined, you can use set to change the attributes of a specific component:
1 | flow = (flow.set('r3', recv_from='r2', clear_old_attr=True) |

You can also use remove to delete a component from the flow, or use set_last_service to set a service as the last service in the flow. These functions are particular useful when you want to partially reuse a flow.
Elastic: scale out a flow
Elasticity or scalability can be achieved by simply adding replicas (alias to num_parallel) to each microservice, e.g.:
1 | flow = (Flow() |

Define an index flow
1 | from gnes.flow import Flow |

Define a query flow
1 | from gnes.flow import Flow |

Convert a index flow to query flow
1 | flow = (flow |
Export the flow to Docker Swarm config
1 | flow.build(backend=None).to_swarm_yaml() |
1 | version: '3.4' |
Note how the ports and sockets are correctly set automatically.
What’s Next?
GNES Flow provides a clean and readable way to use GNES especially in a local environment. It significantly reduces the learning curve of GNES. The current implementation of GNES Flow has still limitations. For example, it requires all dependencies (e.g. tensorflow, pytorch) to be installed locally; it does not support setting the GNES Docker image per microservice, which can not leverage the full power of GNES Hub. If you are interested in making GNES Flow even better/cooler, feel free to make a contribution here.